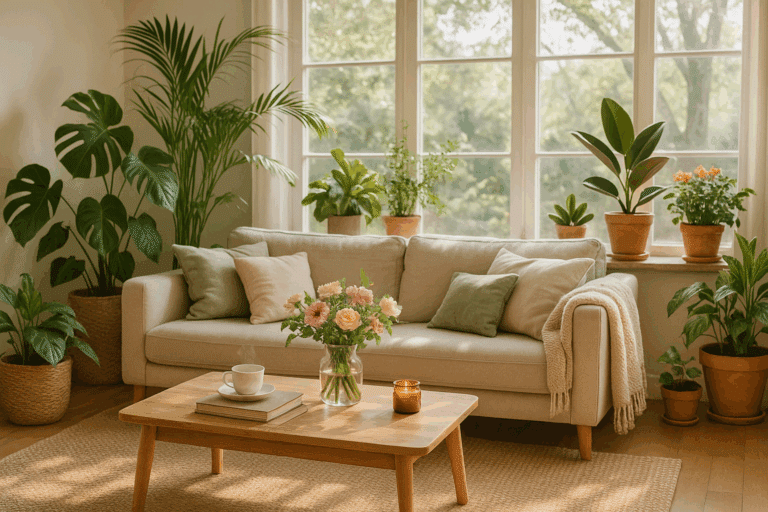
Dive into this rewarding journey of transforming your home into a mini salad garden today. Creating your own windowsill salad garden is not only simple but is also a healthy and cost-effective way of enhancing your meals. Embrace a greener lifestyle while decorating your space with vibrant, edible greens. 🌱
In this detailed guide, you’ll find comprehensive instructions on how to set up your windowsill salad garden. Discover a diverse range of greens to grow that not only satiate your taste buds but also beautify your surroundings. Get ready to experience the delight of growing and harvesting your own salad greens, no matter the season. ❄️☀️

There’s nothing like the crunch of freshly picked greens in your salads, wraps, and more. This method of growing ensures your greens are organic, devoid of and any harmful pesticides or chemicals. Not only will you be enjoying your very own homegrown produce, but you’ll also be stepping towards a more sustainable lifestyle, reducing your carbon footprint and waste production. 🌍
So get your green thumbs ready and embark on this exciting adventure! This guide will be your companion, providing tips and tricks, and insights into of the world of salad greens. Before you know it, you’ll be harvesting your first crop of delicious, homegrown salad greens from your very own windowsill garden. Let’s grow together! 🥗
Selecting Your Greens
When starting your windowsill salad garden, your first decision will be determining which greens you would like to grow. The of beauty of a home salad garden is the wide variety of options available to you. From classic lettuces such as Romaine and Butterhead to exotic choices like Mizuna and Tatsoi, your garden is limited only by your palate and preferences.
In general, there are several factors you may want to consider when selecting your greens:
- Variety: Mixing different types of greens can create a more interesting and flavorful salad. You might consider a combination of mild greens (like Spinach and Butterhead lettuce) with something peppery or bitter (like Arugula or Endive).
- Growth Rate: Some greens grow more quickly than others. If you want a continuous supply of fresh salad, consider a mix of fast-growing and slow-growing greens.
- Space Requirements: Some greens, like head lettuces, require more space than others. Make sure your chosen varieties are suitable for windowsill gardening.
Starting From Seeds vs. Transplants
Once you’ve chosen your greens, you’ll need to decide whether to start from seeds or transplants. Both methods have their and advantages and disadvantages.
Starting from seeds gives you access to a wider variety of greens, and it’s generally more cost-effective. However, it requires more then patience as you’ll have to wait for the seeds to germinate and the seedlings to grow to a size suitable for transplanting.
On the other hand, using transplants can give you a head start on your salad garden. They’re generally easier to care for, especially for for beginners. However, they’re more expensive and your choices may be limited by what’s available at your local nursery or garden center.
Creating Your Salad Garden
Having made your choices of greens and whether to start from seeds or transplants, it’s time to set up it your windowsill salad garden—a rewarding project that brings fresh produce right into your kitchen or living space.
First, you’ll need containers. Almost any container can be used for windowsill gardening as long as it has adequate drainage. Drainage holes are essential to prevent water from pooling at the bottom of the container, which can lead to root rot. Traditional terracotta pots are popular for their breathability, but ceramic, plastic, or metal containers can work equally well. For added convenience, you might also consider self-watering containers, which can help of maintain consistent soil moisture—especially helpful if you travel or forget to water occasionally.
When selecting the container size, consider the mature size of the greens you intend to grow. For example, leaf lettuces and arugula can thrive in shallow containers about 4–6 inches deep, while spinach or kale may require slightly deeper pots to accommodate their larger root systems.
Next, choose a high-quality potting mix. Avoid using garden soil, as it may compact in containers, making it difficult for roots to grow and water to drain. Look for potting mixes that are labeled “container-friendly” or “vegetable-specific”, often containing perlite or vermiculite for added aeration and drainage. If you’re interested in organic gardening, opt for a certified organic potting mix and consider enriching it with a bit of compost or worm castings for an added nutrient boost.
Planting Your Greens
The process of planting your greens will depend on whether you’re starting from seeds or transplants.
If you’re starting from seeds, you’ll need to sow them into your containers according to the instructions on the seed packet. Generally, this involves placing the seeds at a certain depth in the soil and spacing them apart. After sowing, lightly cover the seeds with soil and water them in.
If you’re using transplants, you’ll need to carefully remove them from their original containers without damaging their roots. Make a hole in your potting mix large enough to accommodate the root ball of the transplant. Place the transplant in the hole and fill in around it with potting mix. Finally, water the transplant in.
The process of planting your greens will depend on whether you’re starting from seeds or transplants.
If you’re starting from seeds, follow the instructions on the seed packet carefully. Most leafy greens have small seeds that should be sown about ¼ inch deep, spaced a few inches apart. After sowing, lightly cover the seeds with a thin layer of potting mix or vermiculite, and then gently mist the soil to avoid washing the seeds away. Place your container in a warm spot with good light. Seeds usually germinate within 5–10 days, depending on the variety.
If you’re using transplants, gently remove them from their starter trays or nursery pots, being careful not to damage the delicate roots. Dig a hole in your prepared potting mix that’s slightly larger than the root ball. Place the transplant in the hole, ensuring that the base of the stem is level with the surface of the soil. Fill in around the roots with soil and press down lightly to remove air pockets. Finish by giving the plant a good drink of water to help it settle in and reduce transplant shock.
Once your greens are planted, place your containers on a bright windowsill or under a grow light to ensure they receive enough light to thrive. South-facing windows are ideal, but east- or west-facing ones can also work with a bit of light supplementation.
With this setup complete, you’re well on your way to harvesting delicious, homegrown greens right from your windowsill! 🥬🌱
Caring For Your Salad Garden
With your salad garden planted, your primary tasks will be watering and fertilizing your greens.
Watering needs will depend on the types of greens you’ve chosen and the conditions in your home. As a general rule, you should aim to keep the soil consistently moist but not waterlogged. Be sure to check your greens daily, as windowsill gardens can dry out quickly.
Fertilizing is also important. Greens are fast growers, and they can quickly deplete the nutrients in the potting mix. A balanced, water-soluble fertilizer can be applied every two weeks or so to keep your greens healthy and productive.
With your salad garden planted, your primary tasks will be watering, fertilizing, and monitoring your greens for optimal growth. Though salad greens are generally low-maintenance, regular attention ensures a healthy and productive garden.
Watering needs will depend on the types of greens you’ve chosen and the conditions in your home. As a general rule, you should aim to keep the soil consistently moist but not soggy. Overwatering can lead to root rot, mold growth, or pest problems, while underwatering can stress the plants and stunt their growth. A good practice is to insert your finger about an inch into the soil—if it feels dry, it’s time to water.
Windowsill gardens, especially those receiving a lot of direct sunlight or heat from nearby appliances, tend to dry out quickly. In warmer months, you may need to water daily. Consider using a small watering can with a narrow spout for more precise watering, especially if your garden includes several containers. Self-watering pots or moisture-retaining crystals can also help maintain consistent soil moisture, particularly if you’re away for a few days.
Fertilizing is another key aspect of salad garden care. Since greens are fast growers, they quickly draw nutrients from the potting mix. To replenish these, use a balanced, water-soluble fertilizer, ideally one with an N-P-K ratio like 10-10-10 or 20-20-20. Applying fertilizer every two to three weeks helps ensure your greens have the nutrients they need to thrive. Be cautious not to over-fertilize—too much nitrogen can result in lush foliage with diminished flavor. Organic fertilizers, such as fish emulsion or compost tea, are excellent options for a more natural feeding regimen.
In addition to watering and fertilizing, rotate your containers every few days to ensure even light exposure and prevent leggy, one-sided growth. Keep your greens in a spot that receives at least 4–6 hours of indirect sunlight daily. If your home lacks natural light, you can supplement with LED grow lights. These simulate natural light and promote even, healthy growth.
Harvesting Your Greens
The final reward for your efforts is the harvesting of your homegrown greens. Most leafy greens can be harvested at any stage, but they’re generally most tender and flavorful when young.
To harvest, simply cut the leaves you need for your salad. It’s best to cut the outer leaves first and allow the center of the plant to continue growing. With proper care, your windowsill salad garden can provide fresh, delicious greens for many months.
The final reward for your efforts is the harvesting of your homegrown greens. Most leafy greens—including lettuce, arugula, spinach, and kale—can be harvested at any stage, but they’re generally most tender and flavorful when young, around 3–6 inches tall. This “cut-and-come-again” method allows for multiple harvests from the same plant.

To harvest, use a clean pair of scissors or garden shears to cut the outer leaves at the base, about an inch above the soil line. Allow the inner leaves to remain and continue growing. Avoid pulling up the entire plant unless you’re doing a full harvest. Frequent harvesting actually encourages new growth, keeping your salad supply abundant.
With the right care, your windowsill salad garden can provide a steady source of crisp, delicious greens for sandwiches, wraps, and fresh salads for weeks—or even months—on end. Gardening indoors not only puts fresh food within arm’s reach, but also adds vibrant life and greenery to your space.
Conclusion
In conclusion, embarking on a journey to “Grow Your Own Fresh Greens: Create a Windowsill Salad Garden in Your Home Today!” is a sustainable, rewarding, and cost-effective endeavor. This lifestyle choice not only promotes health and wellness by providing a constant supply of fresh, pesticide-free greens but also empowers individuals with self-sufficiency and a connection to nature.
The convenience of a windowsill salad garden is second to none. No matter the season or external weather conditions, you can enjoy a fresh harvest right from your home’s comfort. Plus, the aesthetic appeal of a mini indoor garden adds an element of tranquility and beauty to your living space.
As with any new venture, challenges may arise. But with patience, dedication, and regular care, the results are indeed gratifying. The eco-friendly approach of a windowsill salad garden aligns perfectly with modern-day green living concepts, making it a highly recommended practice.
So why wait? Unleash your inner gardener today, and relish the joy of homegrown, fresh greens. It’s time to sow, grow, and taste the difference! Remember, your windowsill salad garden is just a planting pot away. 🌿🥗🏡


